Back again with
Blog Hoppin’ for Teacher Week. Today’s topic is organization! I can relate to Dee Dee Willis in her confession, “I am NOT organized by nature.” It took me several years of teaching to learn how to be organized. I was always looking for the perfect way to organize so I could be extra-efficient and save loads of time and work for myself! The problem was I couldn’t always get other people’s ideas to fit into my own routines or environment. After a lot of trial and error, I figured out a few tricks.
First of all, lesson plans…When I taught in the classroom full time I used one of those giant two-page weekly layout booklets with big empty boxes for each subjects. This worked well-enough because my lessons plans were brief and mostly in my head. When I moved into gifted resource, I was teaching multiple grade levels at the same time, so I needed something more specific to my structure. I created my own planning pages to outline my whole-group instruction, and differentiation plans.

IFG stands for “Instructional Focus Group” which basically means, ‘small groups for differentiation.’ Every year my schedule changed a bit; usually I was lucky enough to have 4/5 in the same room for a full 90 minutes. This year, I only had 4th grade for the first hour, and 5th for 90 minutes.
The “Slide 11” under the Group Activity section refers to my power point presentation. I had almost all of my instructional introductory content and correlated practice work on presentation slides for the kids to see. This took me a few years to develop, and I would modify it a bit every year, but holy cow, did I save A LOT of planning from one year to the next – mostly because if you’re teaching several subjects, or several grade levels at once, what are the chances you are going to remember how you presented it from year to year, or if your activities went well? This presentation made it easy for me to make modifications after a class period if something didn’t work well. Then it would be ready to go for the next school or year! Here’s a few examples: slides 11 and 13 are below. I taught two grade levels technically, but not all of my students were gifted, so I would plan 3 levels of practice activities some days (Red, Orange, & Green assignments below).
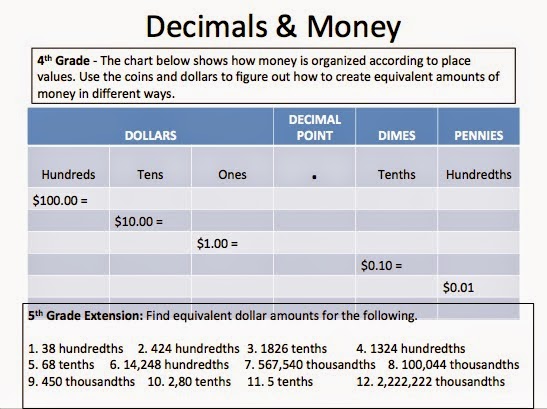
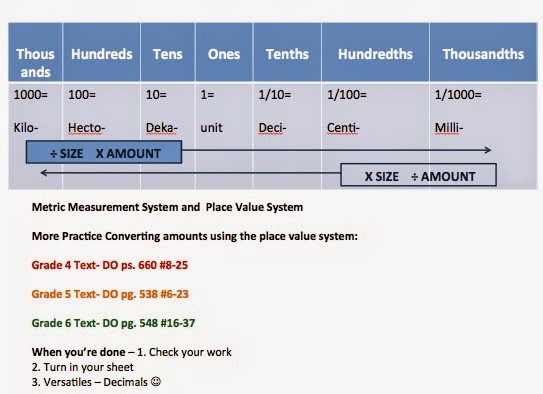
Because I am a visual person, I LOVED having my main ideas laid out in front of me. It was also easy for me to reteach a concept from whole group instruction for those students who didn’t get it the first time. The slides often become my worksheets so it’s easy for me to keep my paper work organized as well.
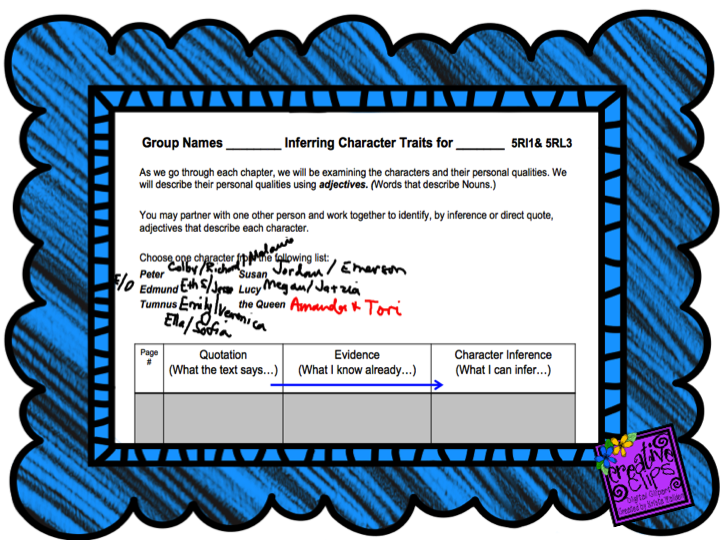
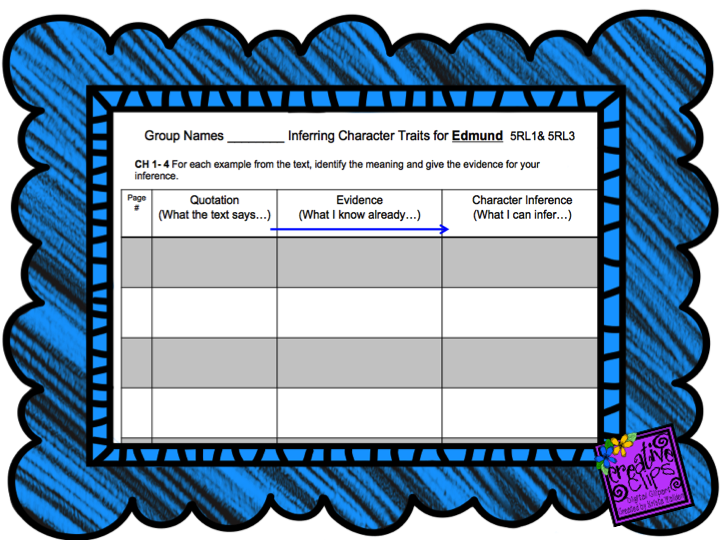
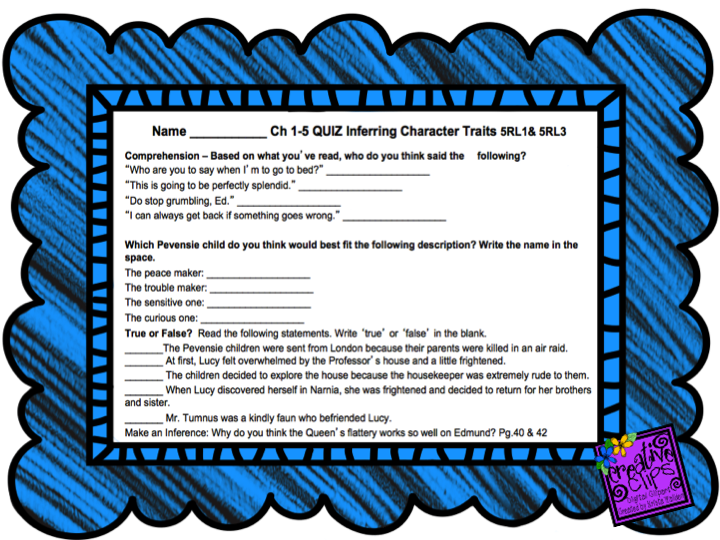
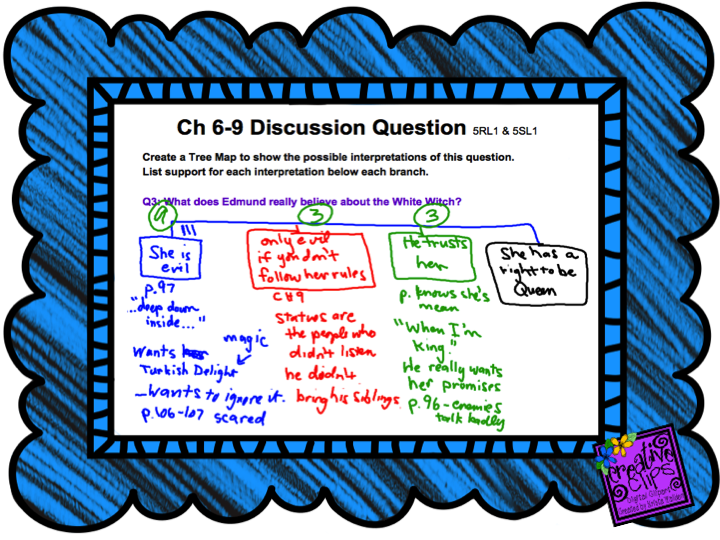
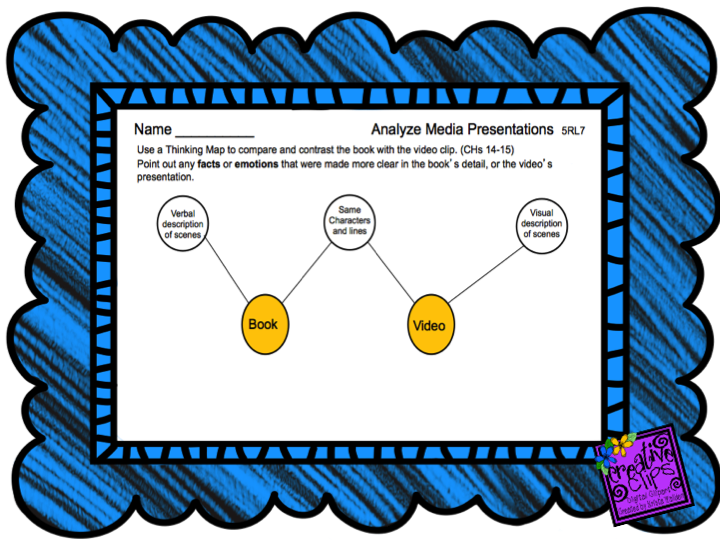
I also taught Language Arts, but this was a more flexible process and my lesson plans would be even more brief because so much of what we did in class depended on our book discussions. I also pulled from so many different resources for LA, and had to use a two year system since I had the same kids for two years; I couldn’t repeat books. I used a basic filing system for activities related to each book, for each skill. Eventually I also began creating power point presentations for each book we read that outlined the Common Core standards I had to accomplish. Again, I saved myself a lot of work from year-to-year having things all laid out, and I also made sure I wasn’t going to miss any important standards! Here’s a few examples of that presentation template.
Slide 1: Table of Contents
Oh man, I’ve been spending so much time on math I forgot how fun Language Arts was!
It’s weird that a power point presentation of lesson plans can get me emotional! LOL!
Once we were required to begin using learning goals and scales, I developed binders for students to track their own progress. For Language Arts, I would print and file each of their classroom assignments from the presentation slides above into a portfolio binder under the general clump of “Reading Skills.” There was also a tab for “Writing Skills.” The standard is already printed on the work sheets so it was easy to discuss with parents or administrators what the kids were doing.
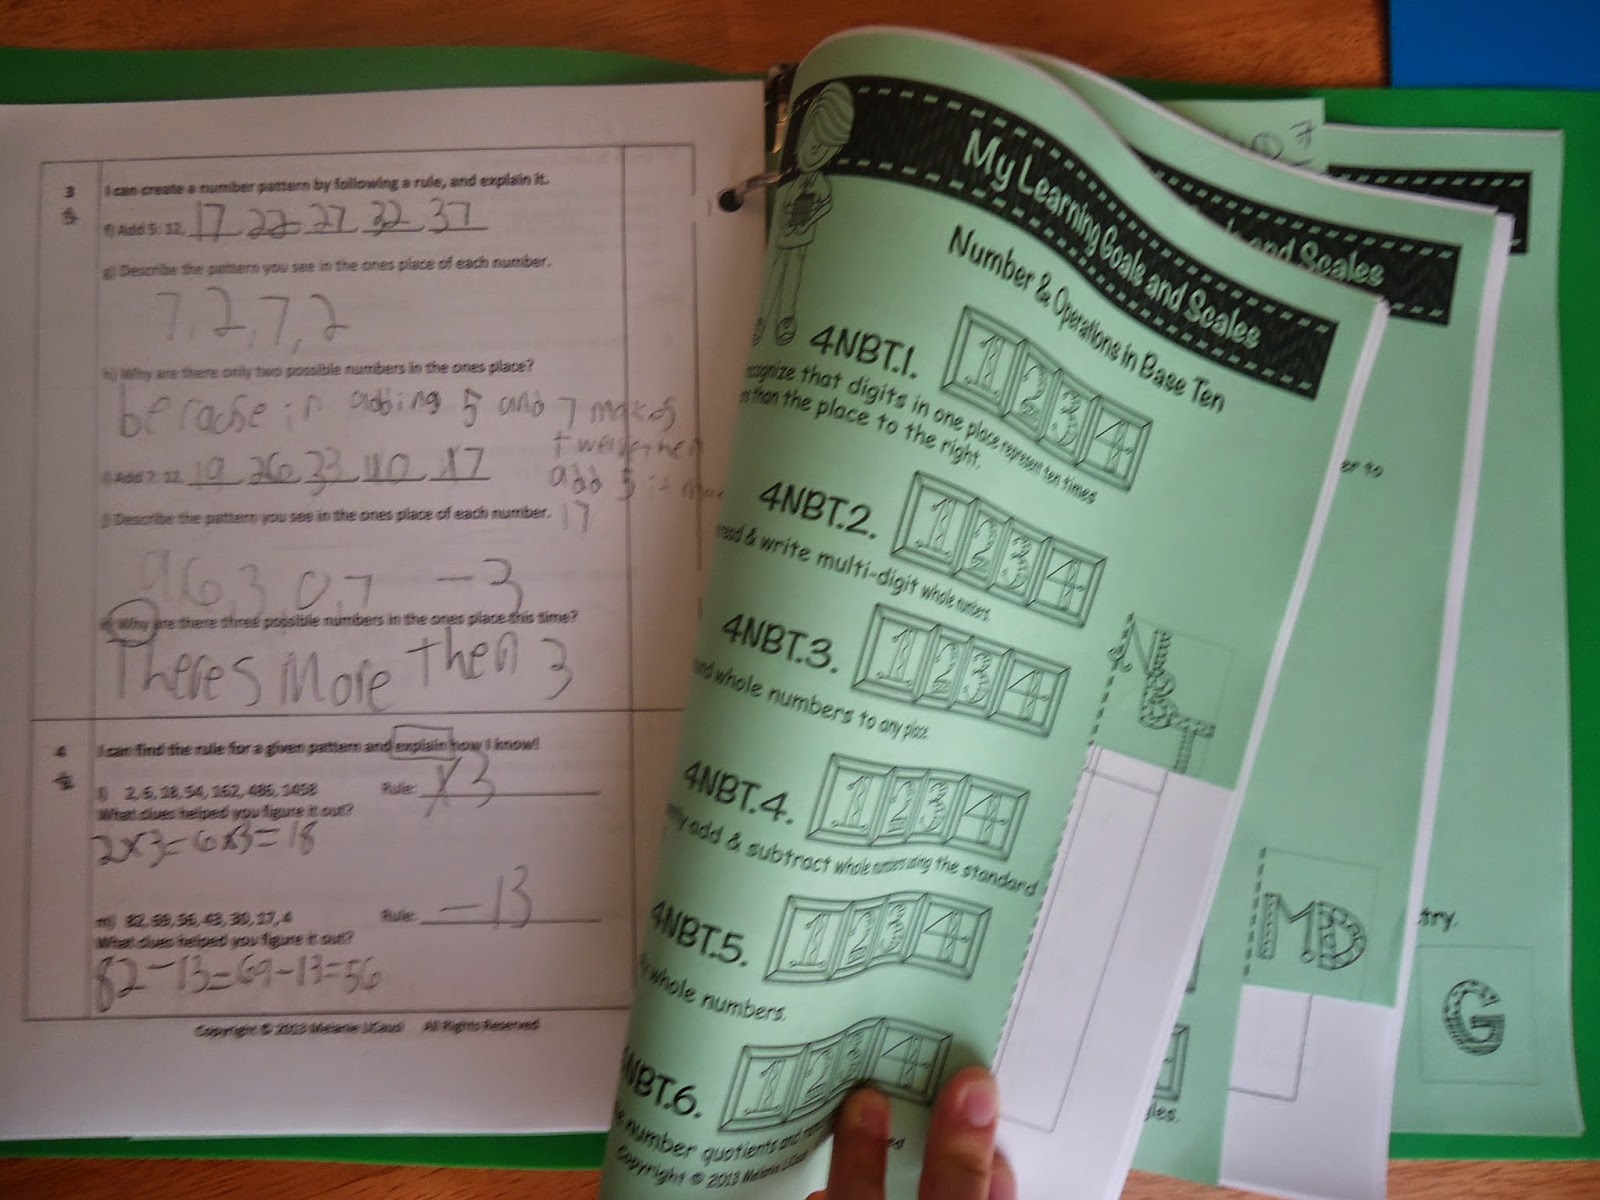
For the Math portfolio binders, I created more specific tabs for the assessments I developed and sample work which were divided into Common Core clusters. Students could track their progress in the standards and goals on the divider tabs themselves. See photos of math binders below. Every grade level follows the same structure.
Binder Dividers are copied onto colored paper, and portions are cut from the side for easy identification. Learning Goals and spaces for coloring the scales are on the front side.
The back side of each divider page has three spaces for writing and tracking some personal learning goals. In between each divider are the actual assessment pages that they’ve taken to show which scale they are on. You could also include work samples from classroom assignments that match each standard.
Every divider page has a different cut-out space to create tabs. I found this much more economical than buying plastic tab dividers for every student.
If you’d like to learn more about the Math Assessments with Learning Goals and Scales, or the FREE Student Portfolio tabs available, just follow this blog link to my previous post:
Thanks for stopping by!