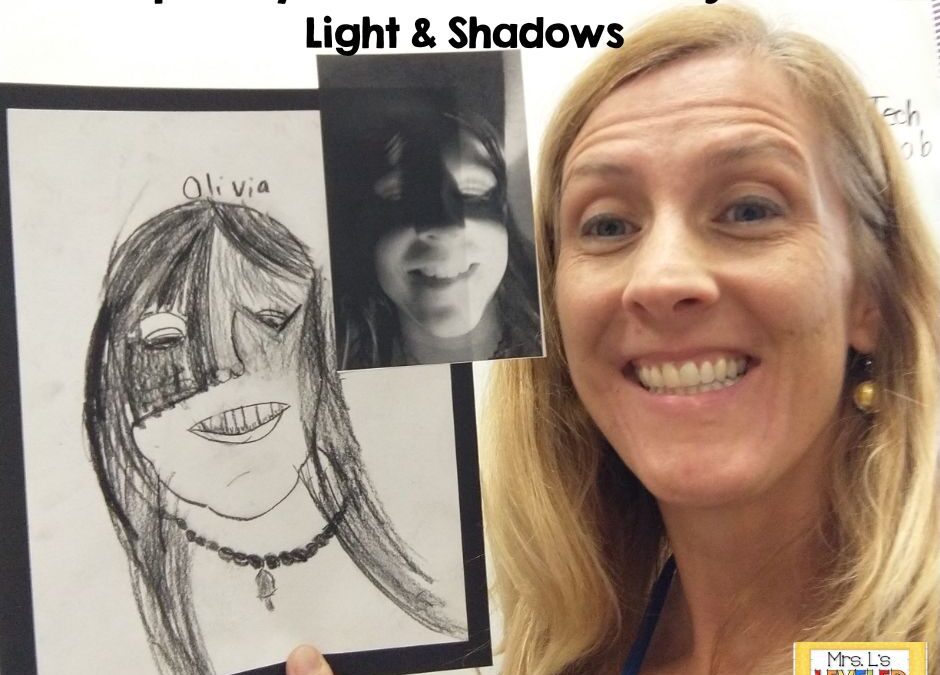
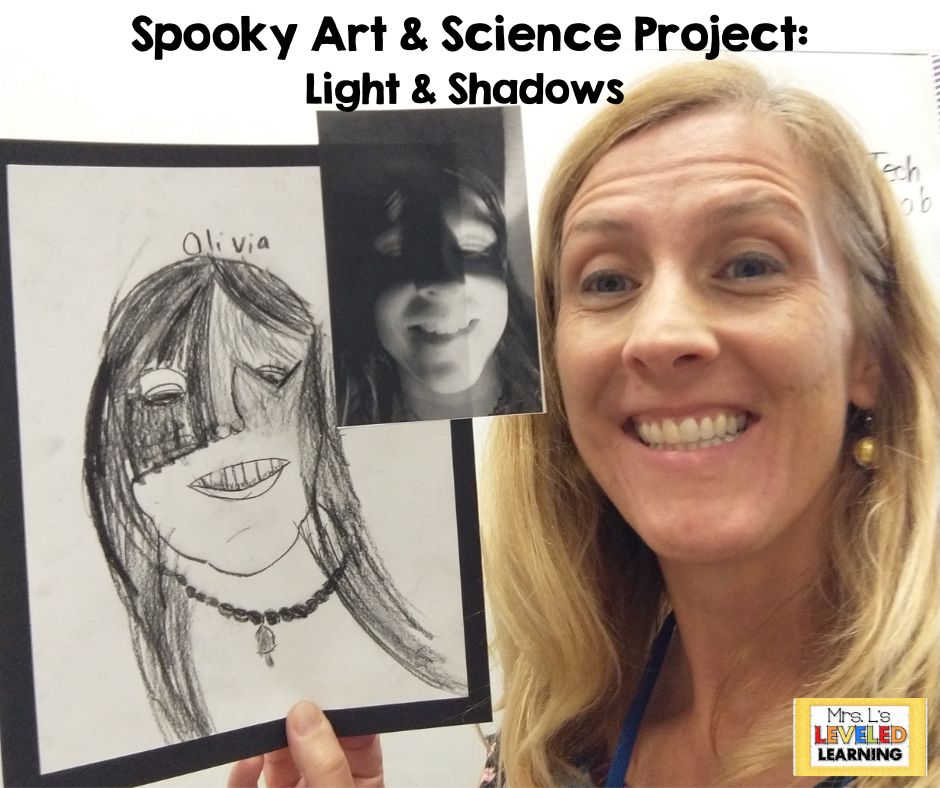
Halloween is such a fun time to do special projects in your classroom. I am not one for wasting classroom time. I LOVE to find hands-on activities that integrate curriculum content! This idea combines the physical science concepts of light and shadows, with and an authentically unique art activity. Check out some of the pictures below! Read on to find out how to create these post-worthy spooky Halloween portraits.
PHASE 1: Black and White Selfie Photos
First I took small groups of students into a dark, closed space. LOL
Yeah, I know how that sounds, but another classroom teacher was right outside the office door to supervise. *Also – It’s important to check that each of your students has permission to be photographed. Find out the policies at your school site!
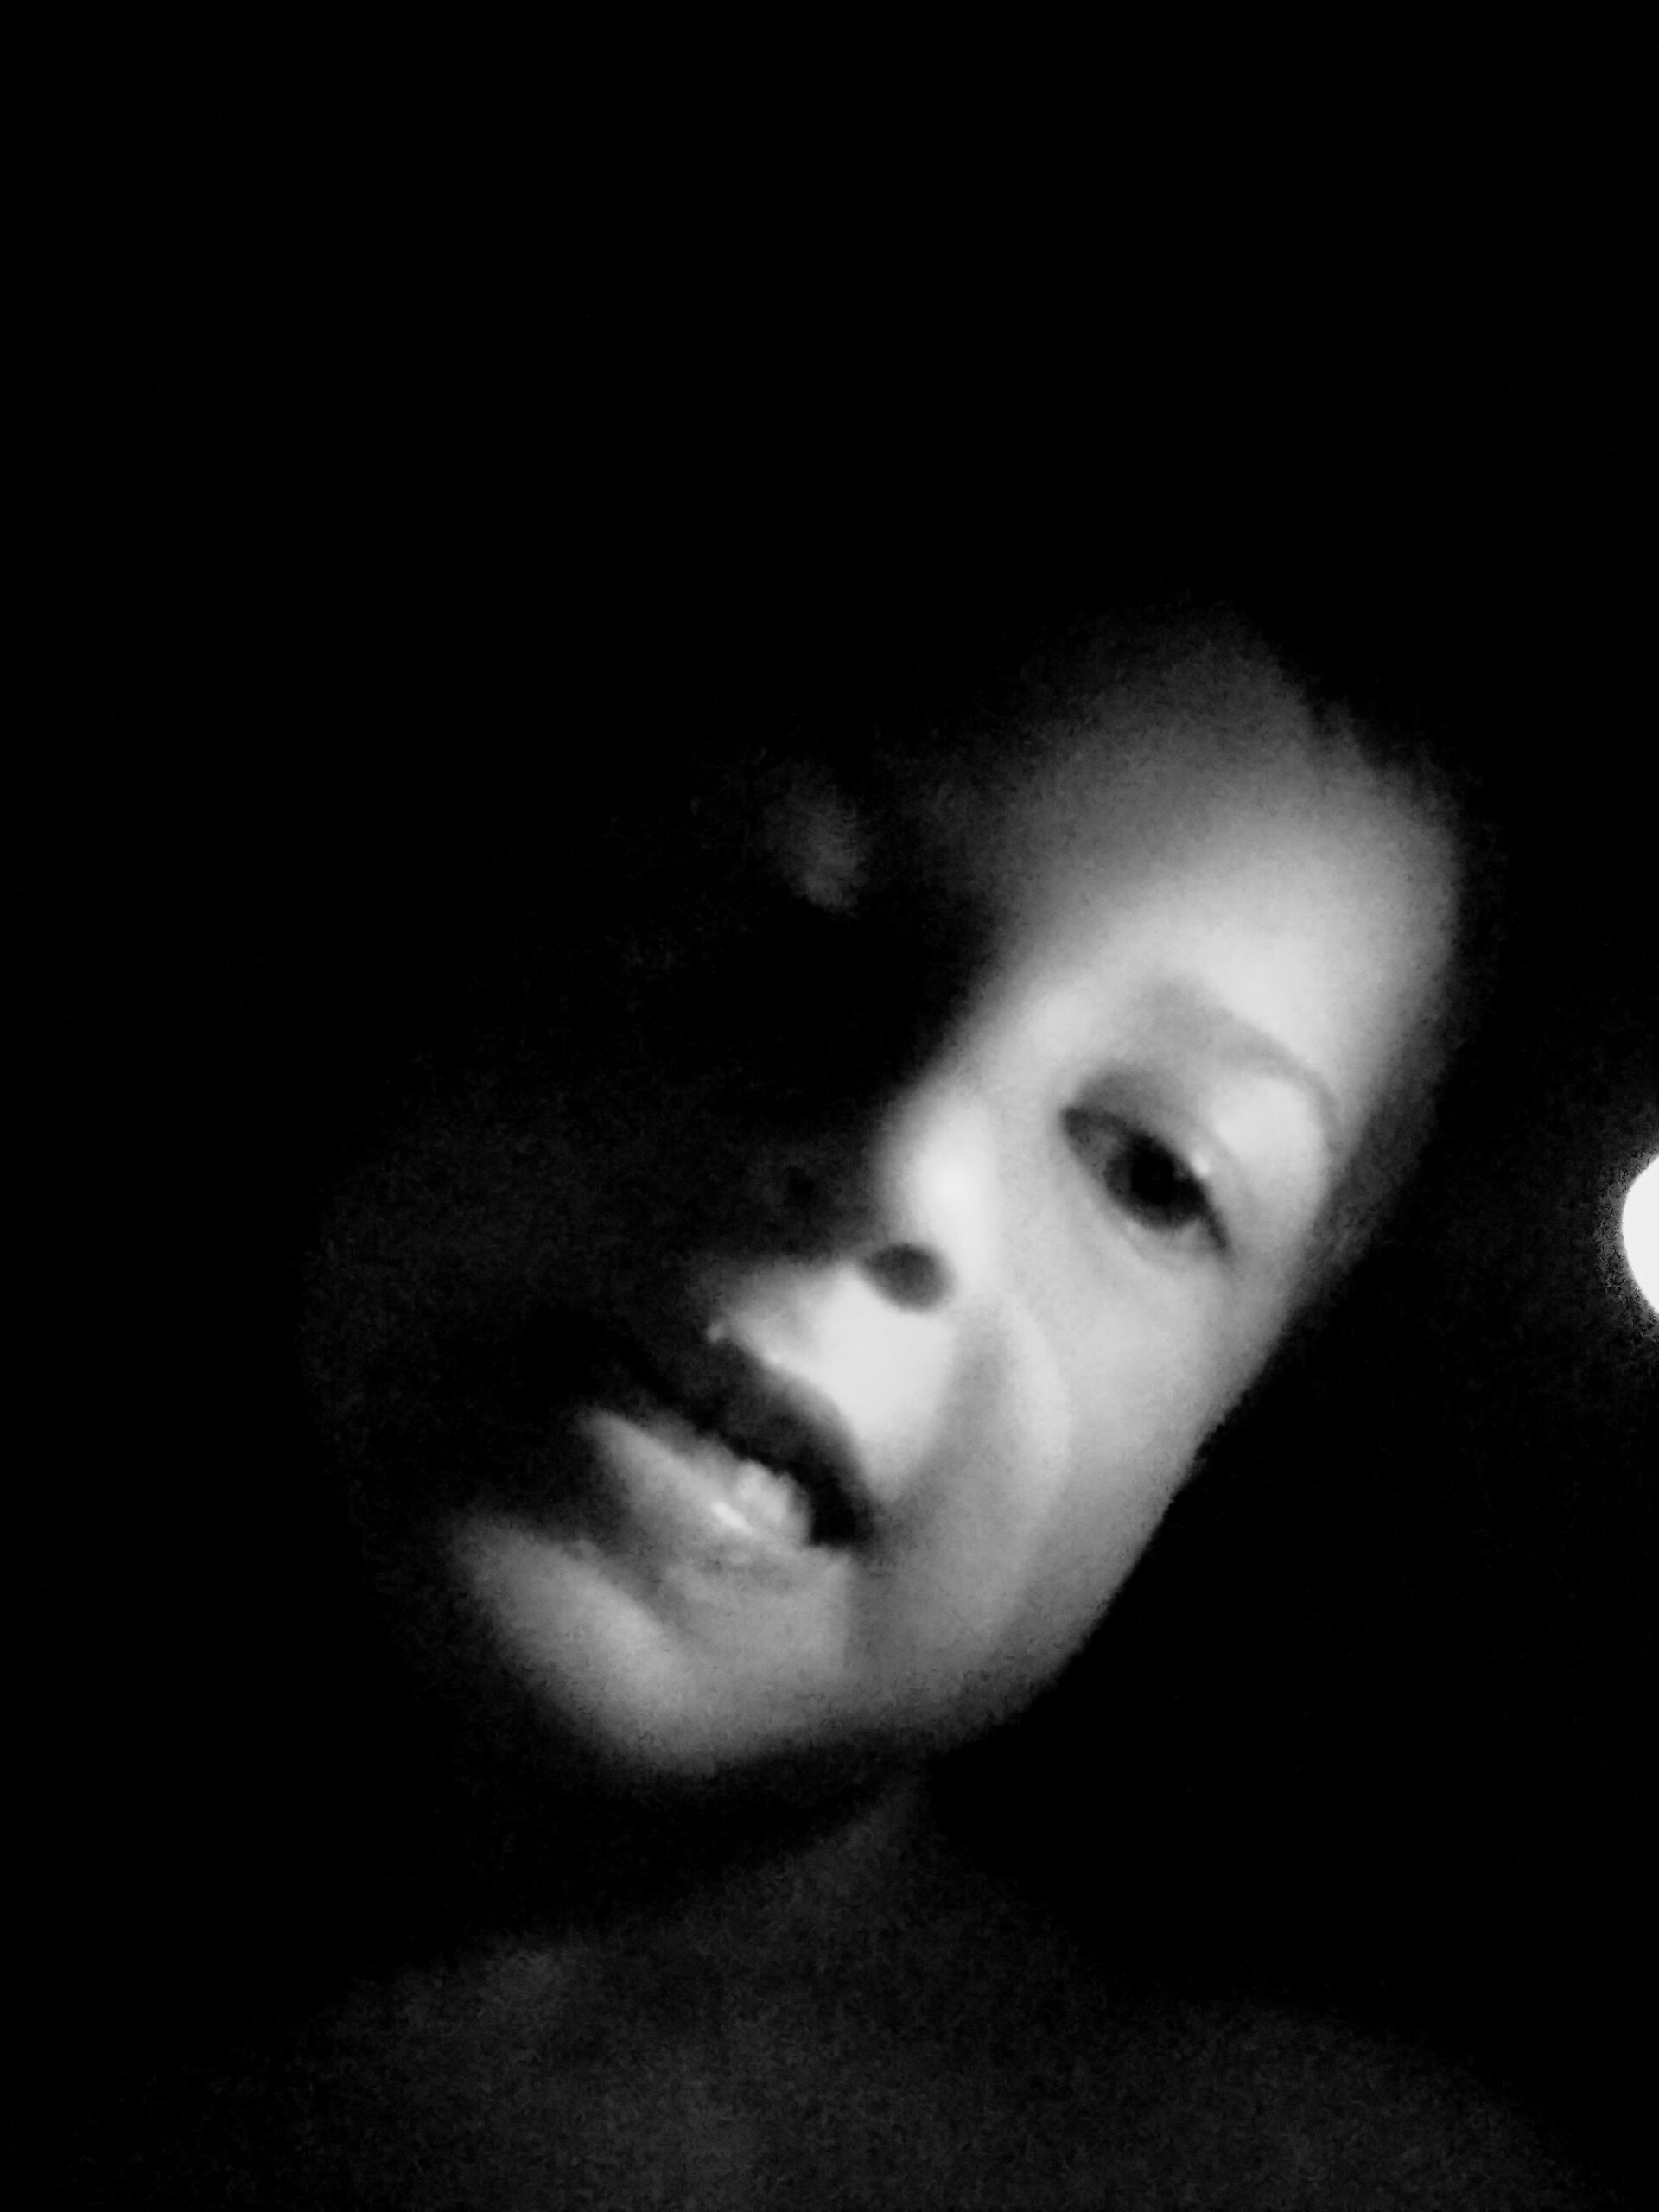
Each student held a small flashlight to their face and experimented with different positions. We observed the angles of light and how it created different shapes on their face.
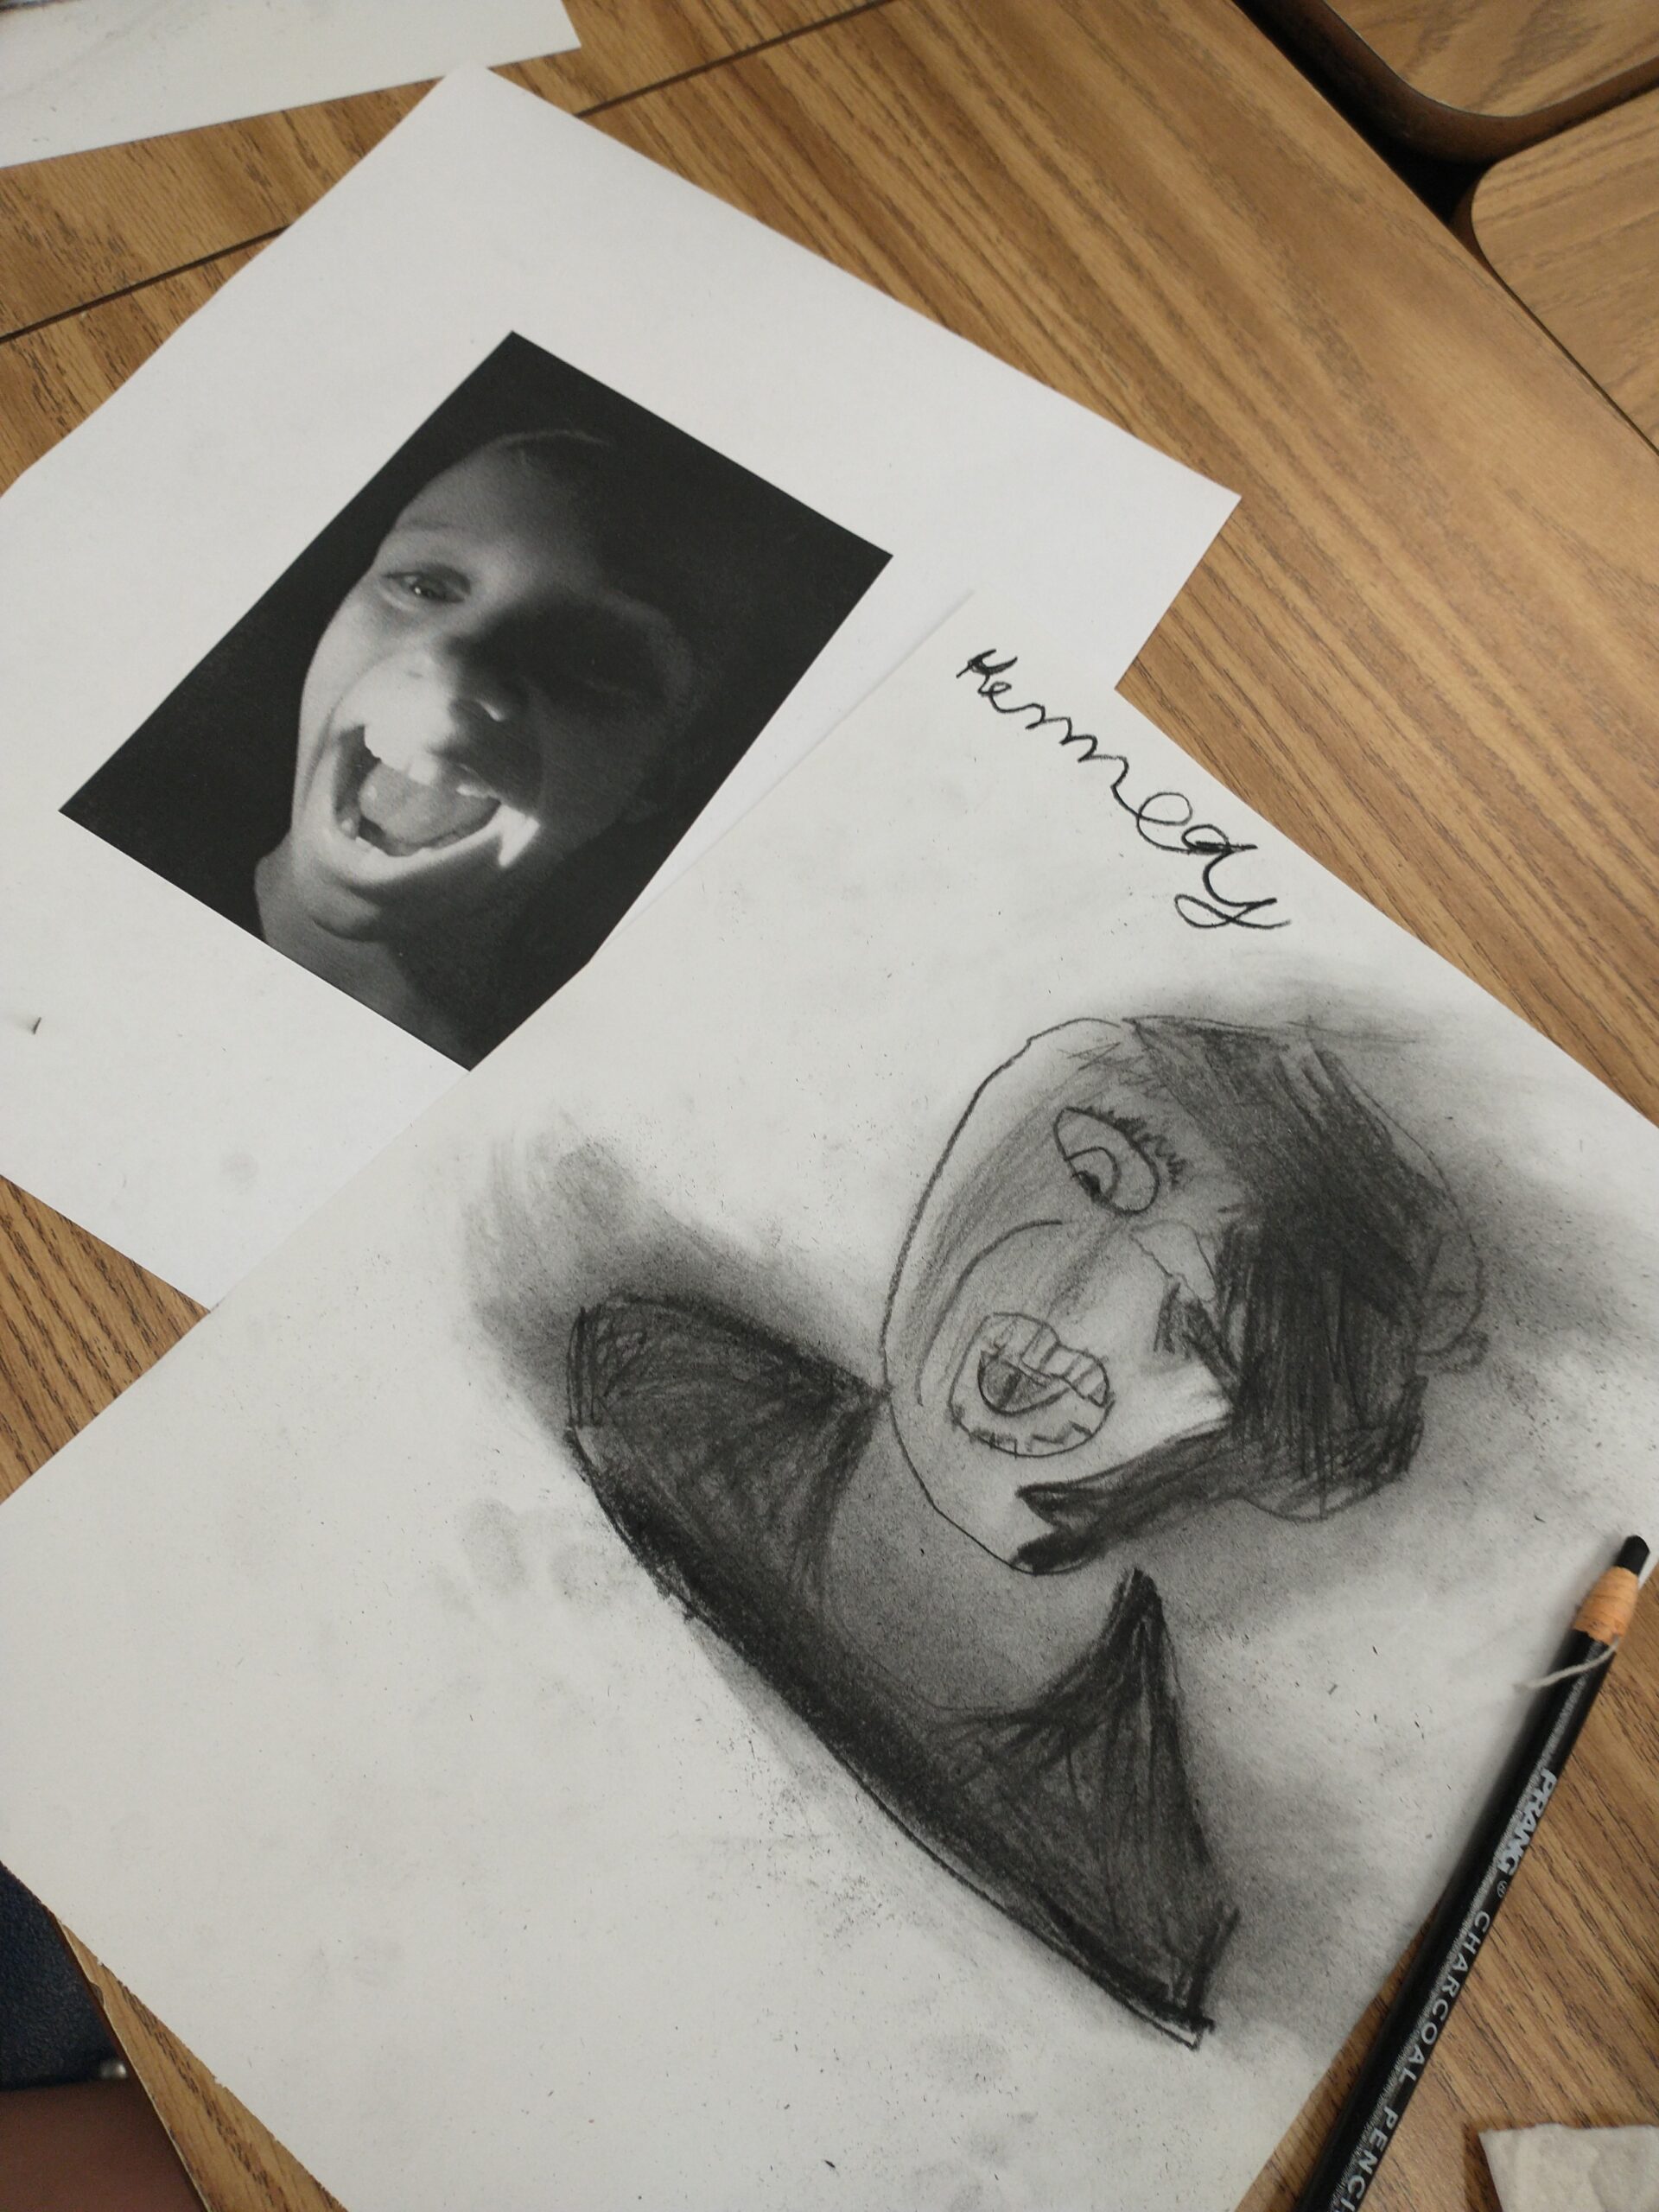
Each student chose the position they liked best, and I snapped a picture. They were able to see themselves on my phone in selfie mode.
I converted each picture to a black and white image.
I emailed the images to myself and printed them in black and white.
If you’re keen on saving paper, you could save individual files and print multiple faces on one sheet. I was more concerned with saving time, so I printed them individually.
PHASE 2: Drawing their Shadow Portraits
Once the shadowy faces are printed, pass them out to students with the following supplies:
1 sheet of plain white paper
1 black colored pencil or charcoal pencil
1 quality eraser
1-2 tissues for smudging
First, I asked students to notice the shape of their head and face and to lightly sketch an outline.
Then, I asked students to find and draw the lines of shadow and light on their face.
I demonstrated a few techniques on the board for students to create gradients of color from white to Gray to black. This can be done by having students color lightly or heavily. This can also be done with a technique called cross-hatching. where students draw lines to fill in a space. Fewer lines create a light smudge. More dense lines create darker color.
If students have access to charcoal pencils, they will be able to use tissues to smudge their coloring. Simply rub to blend the charcoal lines. If students are using plain colored pencils, they will have to rely on their coloring technique to create darker and lighter shades.
Allow students whatever time you have for them to finish.
PHASE 3: Mount and Display Portraits
As each student finished, I asked them to write their name somewhere close to their face.
I mounted their picture to a black construction paper with glue.
I attached their black and white photo to the drawing is an interesting comparison. This helps viewers understand where their inspiration came from.
The pictures can then be posted to a bulletin board or hallway display.
Give the display a fun title such as, “Fifth Grade’s Spookiest Specters” or “Light & Shadow Study.”
The kids LOVED how these turned out! We received many compliments on the display.
Please comment below if you decided to try this with your class!
Especially if you have any ideas for modifications.
All About Differentiation
- You can make this project EASIER by allowing students to trace their shadow image. This can be done using a light piece of white or translucent paper. If you have a light box or table available, that also works great.
- You can help students by pointing out specific shapes: curves, circles, lines, rectangular teeth, almond-shaped eyes, etc. to guide their drawing.
- You can make this activity MORE CHALLENGING by having students practice a specific cross-hatching technique. On a separate sheet of paper, ask students to create a gradient of shades from black to white.
Below are a few public videos that I consulted to complete this project. It’s a really fun for students to have some examples to guide their success!
https://www.hawk-hill.com/diy-portable-light-box-tracing/
Thank you to Priscilla K. for commenting on
8th Grade ELA Marzano Proficiency Scale Posters Differentiation – EDITABLE
“Our district rolled out Standards-Based Grading and told the teachers to create their proficiency scales. This has been a tremendous help. Thank you :)”
– September 2023